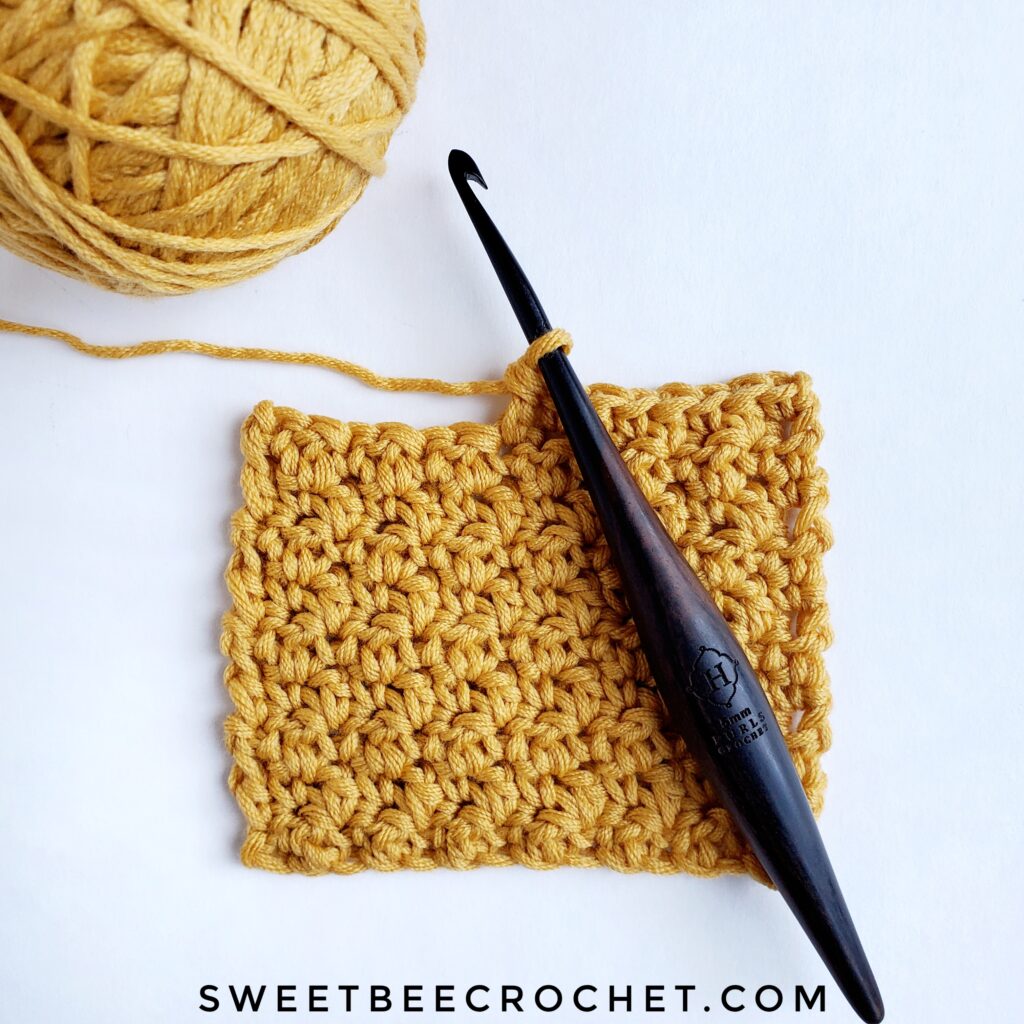
The Lemon Peel stitch is a wonderful variation of the basic stitches. If you can chain, single crochet and double crochet, you’ve got this! This stitch combination creates a solid and textured design that is perfect for a variety of uses. After the tutorial, I’ll share some creative ideas on how you can incorporate this stitch into your crochet projects.
Let’s learn how to crochet the Lemon Peel stitch…
This post might contain affiliate links. This means that if you decide to purchase items through the links I have shared, I may earn a small commission (at no extra cost to you). Thank you for supporting the time and work I put into this website and pattern designing.
For this tutorial you will need the following materials:
- Worsted weight yarn (the yarn in these photos is Berroco Comfort. Please use whatever worsted weight #4 yarn you are most comfortable with).
- A crochet hook to compliment your yarn choice (I will be using a 5mm Furls Streamline Ebony hook). Depending on your yarn, a 4mm-6mm hook could work too!
- Scissors and yarn needle if you want to fasten off and weave in ends
Terms:
- CH (chain)
- SC (single crochet)
- DC (double crochet)
Tutorial Notes:
- This written tutorial also includes photos to help explain stitch placements and provide a clear visual of how the swatch looks while working up the rows.
- This stitch combination is worked by crocheting an odd number of chain stitches. Alternately, it may referred to as using multiples of 2 + 1. That means that you need to chain an even number of stitches plus 1 extra for your turning chain. The multiples of 2 being one stitch SC, the next stitch DC.
- The turning chain 1 does not count as a stitch. We are only chaining 1 to turn because it is the same height the SC that will start the next row.
- You will always start each row with a SC and finish the row with a DC.
- After the first row, you will always be working each stitch into the alternate one. For example, your SC stitch will be worked into the DC of the previous row. The DC will be worked into the SC of the previous row.
Lemon Peel Stitch Tutorial:
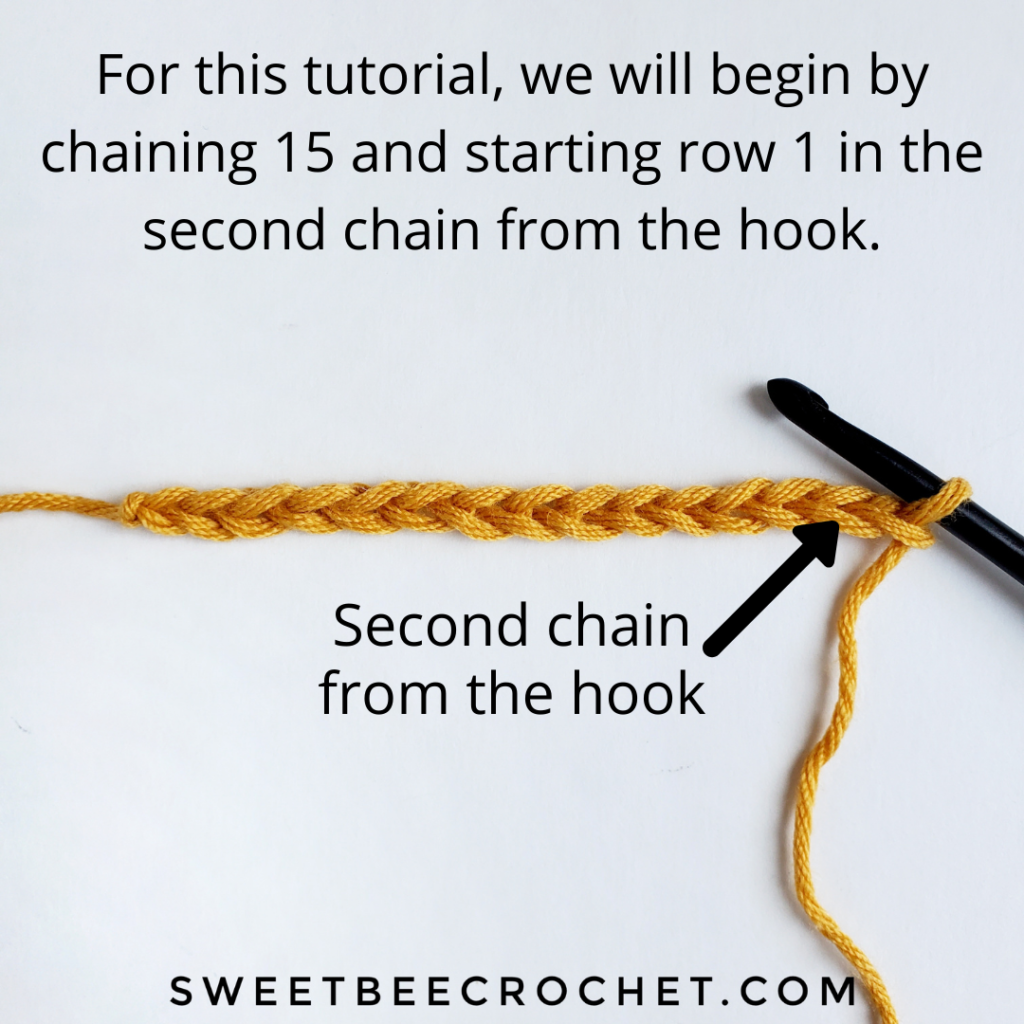
Begin by chaining 15. You will start row 1 by working into the second chain stitch from your hook.

Row 1:
Into the first stitch (second chain from hook as seen above), place 1 SC. Into the next stitch, place 1 DC. Repeat this sequence of SC, DC across the chain. The final stitch should be 1 DC. CH 1 and turn.
(7 SC stitches, 7 DC stitches = 14 stitches)

Row 2:
Making sure to not stitch into your turning CH, place 1 SC into the first stitch (it is the last DC you completed to finish row 1). Into the next stitch, place 1 DC. Repeat this sequence of SC, DC across the row. The final stitch should be 1 DC. CH 1 and turn.
(7 SC stitches, 7 DC stitches = 14 stitches)

And that’s it! To continue your swatch, simply continue the same SC, DC alternation that you’ve completed for rows 1 and 2.

You can see the small swatch I completed below. Isn’t it a pretty stitch? Simple but with a beautiful texture that would be perfect for a variety of different projects.

Project Ideas Using The Lemon Peel Stitch:
Think about the size of the project you want to make. Crochet the required number of chain stitches to match the stitch combination for the lemon peel stitch (multiples of 2+1 OR an odd number of chains).
– Washcloths are wonderful patterns that work up quickly and provide a great opportunity to practice new stitches. The lemon peel stitch has a nice solid appearance which makes it ideal for washcloths. Don’t forget to swap out your acrylic yarn for cotton when crocheting projects like this that will be used frequently and require regular washing/drying.
– Face scrubbies are even smaller projects (also using cotton yarn) that would look beautiful with this stitch.
– Small squares made out of cotton yarn are fun little coasters. Perfect for adding a handmade touch into your home.
– Scarves are a fun option as well and can double as a gift option for a special friend or family member.
– Looking to tackle a larger project? Try the lemon peel stitch in a small lap blanket. An added bonus is that you get to keep warm underneath it as your project grows!
Now that you know how to crochet the lemon peel stitch, check out these patterns below that feature this fun method:


I hope you enjoyed this tutorial and learning how to crochet a new stitch! Discover the other stitch tutorials on my blog here:
Enjoy, friends! Happy Crocheting!


Pingback: Crochet Scarf Pattern - Lemon Loop Scarf - Sweet Bee Crochet
Pingback: Lovely Lemon Neck Warmer - Free Crochet Pattern - Sweet Bee Crochet
Pingback: Cozy Travels Neck Warmer - Free Crochet Pattern - Sweet Bee Crochet
Pingback: Free Crochet Pattern - Loops and Ridges Scarf - Sweet Bee Crochet
Pingback: Lemon Stripes Bag - Free Crochet Pattern - Sweet Bee Crochet
I never knew it with a stitch name. This was interesting.