

Here we are in Ontario, Canada. It’s July with temperatures sitting around 30 degrees celsius and I’m getting inspired to make fall and winter wearables. When inspiration strikes, you run with it! This free crochet pattern would actually make an excellent summer project because it’s on the small side so you’re not overheating like you might while working on big, heavy blankets. It’s also easy to travel with so taking it on your summer adventures would be really easy to do!
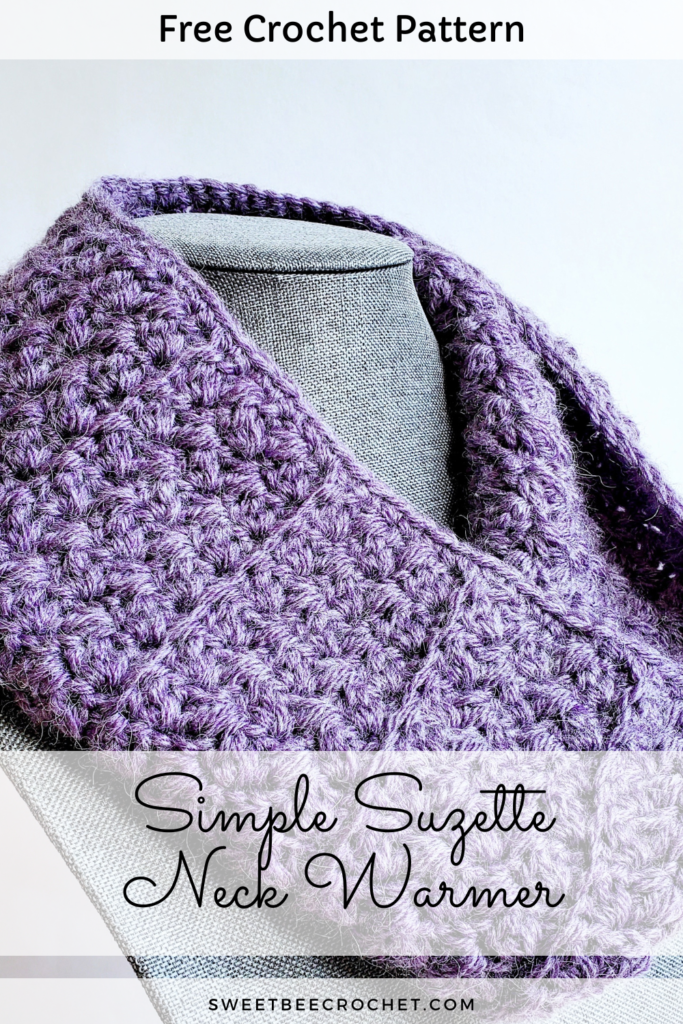
Check out the free pattern for the Simple Suzette Neck Warmer below…

This pattern is available for free here on my blog. An ad-free, neatly formatted, printer friendly version is also available in my Etsy and Ravelry shops. Click the buttons below to take you there!


You may sell items completed from this pattern but please provide credit back to Sweet Bee Crochet and if possible, link back to the pattern location. You may not sell this written pattern, use my photos without consent, or create video tutorials using my pattern. You may not use my photos to sell your completed items.
**Tag me on Instagram (@sweet_bee_crochet) to show off your finished piece!**
Notes:
– This pattern is written in US terms (find a stitch conversion chart here)
– Laying flat, after seaming and adding edges measures approx. 12 ½ x 8 ½ inches
– Gauge is 2×2 inches = 2 inches tall (rows 1-6), 2 inches wide (suzette stitch x4)
– Beginning CH 1 does not count as a stitch throughout the neck warmer. Beginning CH 1 does count as a stitch for the edging.
– Special stitch tutorials are included within the pattern
– This neck warmer can be adjusted in size by increasing or decreasing the row repeat. Please note that doing so will change the yardage required
Materials Needed:
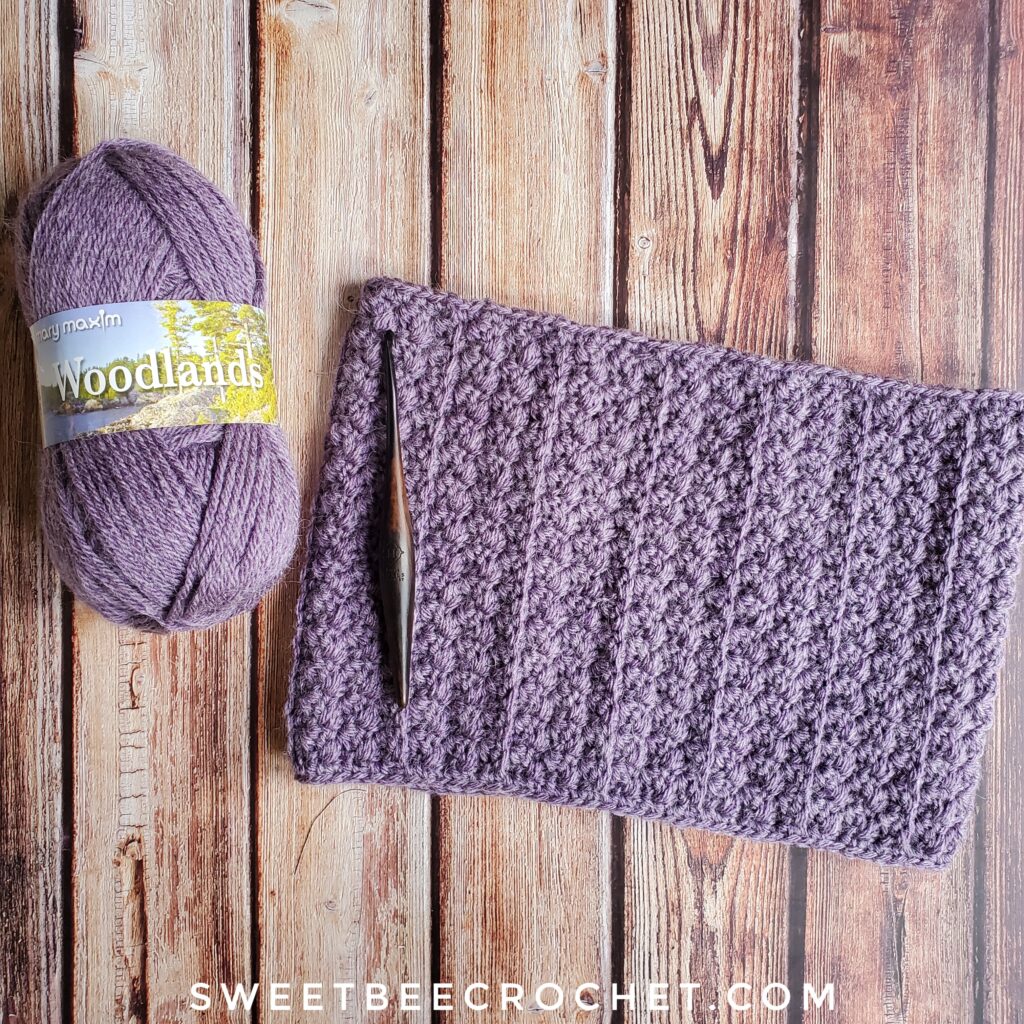
– Approximately 226 yards of worsted weight yarn. I used Mary Maxim Woodlands in the “Plum Mist” colourway
– 5mm hook
– Yarn needle
– Scissors
– Measuring tape
Stitches:
CH – Chain
SK – Skip Stitch
SS – Slip Stitch
SC – Single Crochet
DC – Double Crochet
Special Stitch Tutorial:
Suzette Stitch – One SC and one DC are placed into the same stitch. Skip the next stitch. Repeat across the row. After the last skipped stitch of the row, place 1 SC.
Detailed walkthrough: Click here
Back Loop Single Crochet – Instead of making your single crochet into the traditional stitch space (under top 2 loops), make your single crochet stitch only into back loop of the stitch (the one furthest from you).
Pattern:
Begin with CH 30 and start row 1 in the second CH from your hook.
Rows 1-5:
Into the first stitch, place 1 SC and 1 DC. SK the following stitch. *In the next stitch place 1 SC and 1 DC, SK the next stitch*. Repeat this sequence from * to * 12 more times across the row until you have two stitches remaining. SK 1 stitch and place 1 SC into the last stitch of the row. CH 1 and turn.
(15 SC stitches, 14 DC stitches = 29 stitches)
Row 6:
Into the first stitch and each stitch across, place 1 BLSC. CH 1 and turn.
(29 BLSC stitches)
Repeat rows 1-6 (12 more times) with your last row being BLSC. At this point, lying flat your project should measure approximately 25 inches in length and 8 inches wide. Fold your edges into the centre to meet to determine if the sizing is right for you. If you’d like it more fitted or loose, please adjust accordingly by removing a repeat segment OR adding more.
Seaming:
Bring your two short ends together and use your preferred method for seaming (I like using the invisible seam). Join your two ends, fasten off and ensure your textured side with the ridges are facing out.
Edging:
Join yarn into the edge at the seam with a SS and CH 1 (counts as 1 SC). Evenly place 1 SC around, finishing with a SS into the beginning CH 1. Fasten off and repeat for the second edge. Weave in all ends. Great job! Simple Suzette Neck Warmer is complete!
Looking for more free patterns? Check out the banner below! Happy crocheting!
