
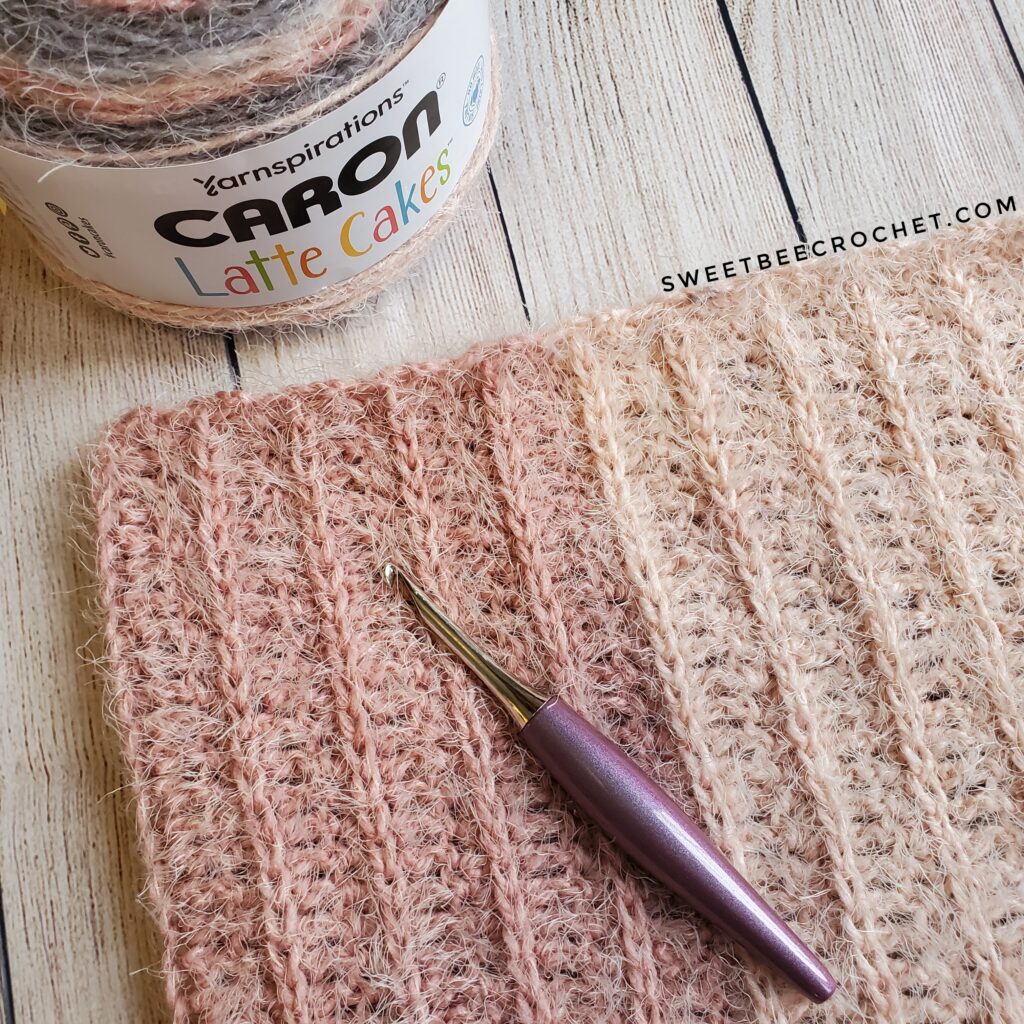
The Dreamy Breeze Cowl is exactly as it sounds. Soft, feather light and comfortable to wear. It works up quickly and uses less than one Caron Latte Cake. It makes the perfect gift for a friend or simply for yourself to enjoy. As of February 24th, 2023, this pattern has received a refreshing update!
Find all the pattern details…


This pattern is available for free here on my blog. An ad-free, neatly formatted, printer friendly version is also available in my Etsy and Ravelry shops. Click the buttons below to take you there!


You may sell items completed from this pattern but please provide credit back to Sweet Bee Crochet and if possible, link back to the pattern location. You may not sell this written pattern, use my photos without consent, or create video tutorials using my pattern. You may not use my photos to sell your completed items.
**Tag me on Instagram (@sweet_bee_crochet) to show off your finished piece!**

Notes:
– This pattern is written in US terms (find a stitch conversion chart here)
– Gauge is not important for this pattern. You can easily adjust the length before seaming by continuing the repeats and will require more yardage beyond what is mentioned in the materials
– This pattern is made by making a long rectangle and seaming the two ends together
– The DC in this pattern is worked into the 3rd loop of the previous row of HDC stitches. A tutorial is included below
– Due to the texture of the yarn, keeping a moderately loose tension would be helpful in the event of having to pull out stitches
– Regularly counting your stitches would be beneficial as the yarn texture can make it easy to miss a stitch
– Beginning CH 1 or CH 2 does not count as a stitch
– Helpful photos can be found within the pattern
Materials Needed:
– Approximately 180 yards of one Caron Latte Cake (about 1/3 of a full cake)
– 6mm hook
– Yarn needle
– Scissors
– Measuring Tape
Stitches:
CH – Chain
HDC – Half Double Crochet
DC – Double Crochet
Special Stitch Tutorial:
3rd Loop of HDC: In this pattern, the 3rd loop is found in the front of the stitch (facing you). It is below the traditional “V” shape found at the top of the stitch. Below is a photo example using worsted weight acrylic so the stitches are clear and visible. See photo below.


Pattern:
Begin by chaining 31.
Row 1:
Into the second CH from your hook, and each stitch across the row, place 1 DC. CH 1 and turn.
(30 DC stitches)
Row 2:
Into the first stitch and each stitch across the row, place 1 HDC. CH 2 and turn.
(30 HDC stitches)
Row 3:
(Working only into the 3rd loop of the HDC stitches)
Into the 3rd loop of the first HDC stitch and each stitch across, place 1 DC. CH 1 and turn.
(30 DC stitches)

Row 4:
(Working into the top of the stitches only)
Into the first stitch and each stitch across, place 1 HDC. CH 2 and turn.
(30 HDC stitches)
Row 5:
Repeat row 3
Rows 6-53:
Repeat rows 2 and 3. After completing the last row, CH 1 and turn.
Row 54:
Into the first stitch and each stitch across, place 1 HDC. If you want add length, repeat the row sequence as needed. Fasten off, leaving a long tail (I left 45 inches) for seaming.
(30 HDC stitches)
At this point, lying flat, your cowl should measure approximately 28 inches long and 10 inches wide (depending on your tension).
Seaming The Edges:
Lay your cowl flat with the “V” ridge design facing up. Fold your two ends in to meet at the middle. The “V” design is now on the inside.
Because the final row is an HDC stitch, you can stitch the ends together through the 3rd loop to maintain a consistent “V” design without a visible seam.
I like to use the invisible seam method (tutorial here) but please feel free to use whatever joining method you prefer. Fasten off and weave in all ends.

This completes your cowl! I hope it keeps you cozy and warm all winter long. I’d love to see your version! Tag me on Instagram @sweet_bee_crochet to show off your beautiful work. Happy crocheting!